Building a remote controlled LED strip using ESPHome and Home Assistant
April 21st, 2021
RGB Led strips are extremely cool and I wanted one. However, I wanted to be able to control the color using my phone, instead of needing to use a dedicated remote control. Since I was already familiar with the Home Assistant platform, I decided the best course of action would be to integrate my LED strip with it.
Running Home Assistant
I run a Kubernetes cluster at home, along with a reliable CI/CD system using Weave Flux. This allows me to define services as yaml files in a git repo and have everything automatically applied and synced. The basic deployment definition for Home Assistant is as follows. In addition, the Hass configurator docker project is a useful tool, as is the ESPHome docker webui.
apiVersion: apps/v1
kind: Deployment
metadata:
  name: home-assistant
  namespace: home-assistant
spec:
  progressDeadlineSeconds: 600
  replicas: 1
  revisionHistoryLimit: 10
  selector:
    matchLabels:
      app.kubernetes.io/instance: home-assistant-home-assistant
      app.kubernetes.io/name: home-assistant
  strategy:
    type: Recreate
  template:
    metadata:
      creationTimestamp: null
      labels:
        app.kubernetes.io/instance: home-assistant-home-assistant
        app.kubernetes.io/name: home-assistant
    spec:
      hostNetwork: true
      containers:
        - image: homeassistant/home-assistant:latest
          imagePullPolicy: IfNotPresent
          livenessProbe:
            failureThreshold: 5
            httpGet:
              path: /
              port: api
              scheme: HTTP
            initialDelaySeconds: 60
            periodSeconds: 10
            successThreshold: 1
            timeoutSeconds: 10
          name: home-assistant
          ports:
            - containerPort: 8123
              name: api
              protocol: TCP
          readinessProbe:
            failureThreshold: 5
            httpGet:
              path: /
              port: api
              scheme: HTTP
            initialDelaySeconds: 60
            periodSeconds: 10
            successThreshold: 1
            timeoutSeconds: 10
          resources: {}
          securityContext:
            runAsUser: 0
          terminationMessagePath: /dev/termination-log
          terminationMessagePolicy: File
          volumeMounts:
            - mountPath: /config
              name: config
      dnsPolicy: ClusterFirst
      restartPolicy: Always
      schedulerName: default-scheduler
      securityContext:
        fsGroup: 1111
      terminationGracePeriodSeconds: 30
      volumes:
        - name: config
          persistentVolumeClaim:
            claimName: home-assistant
Soldering pieces
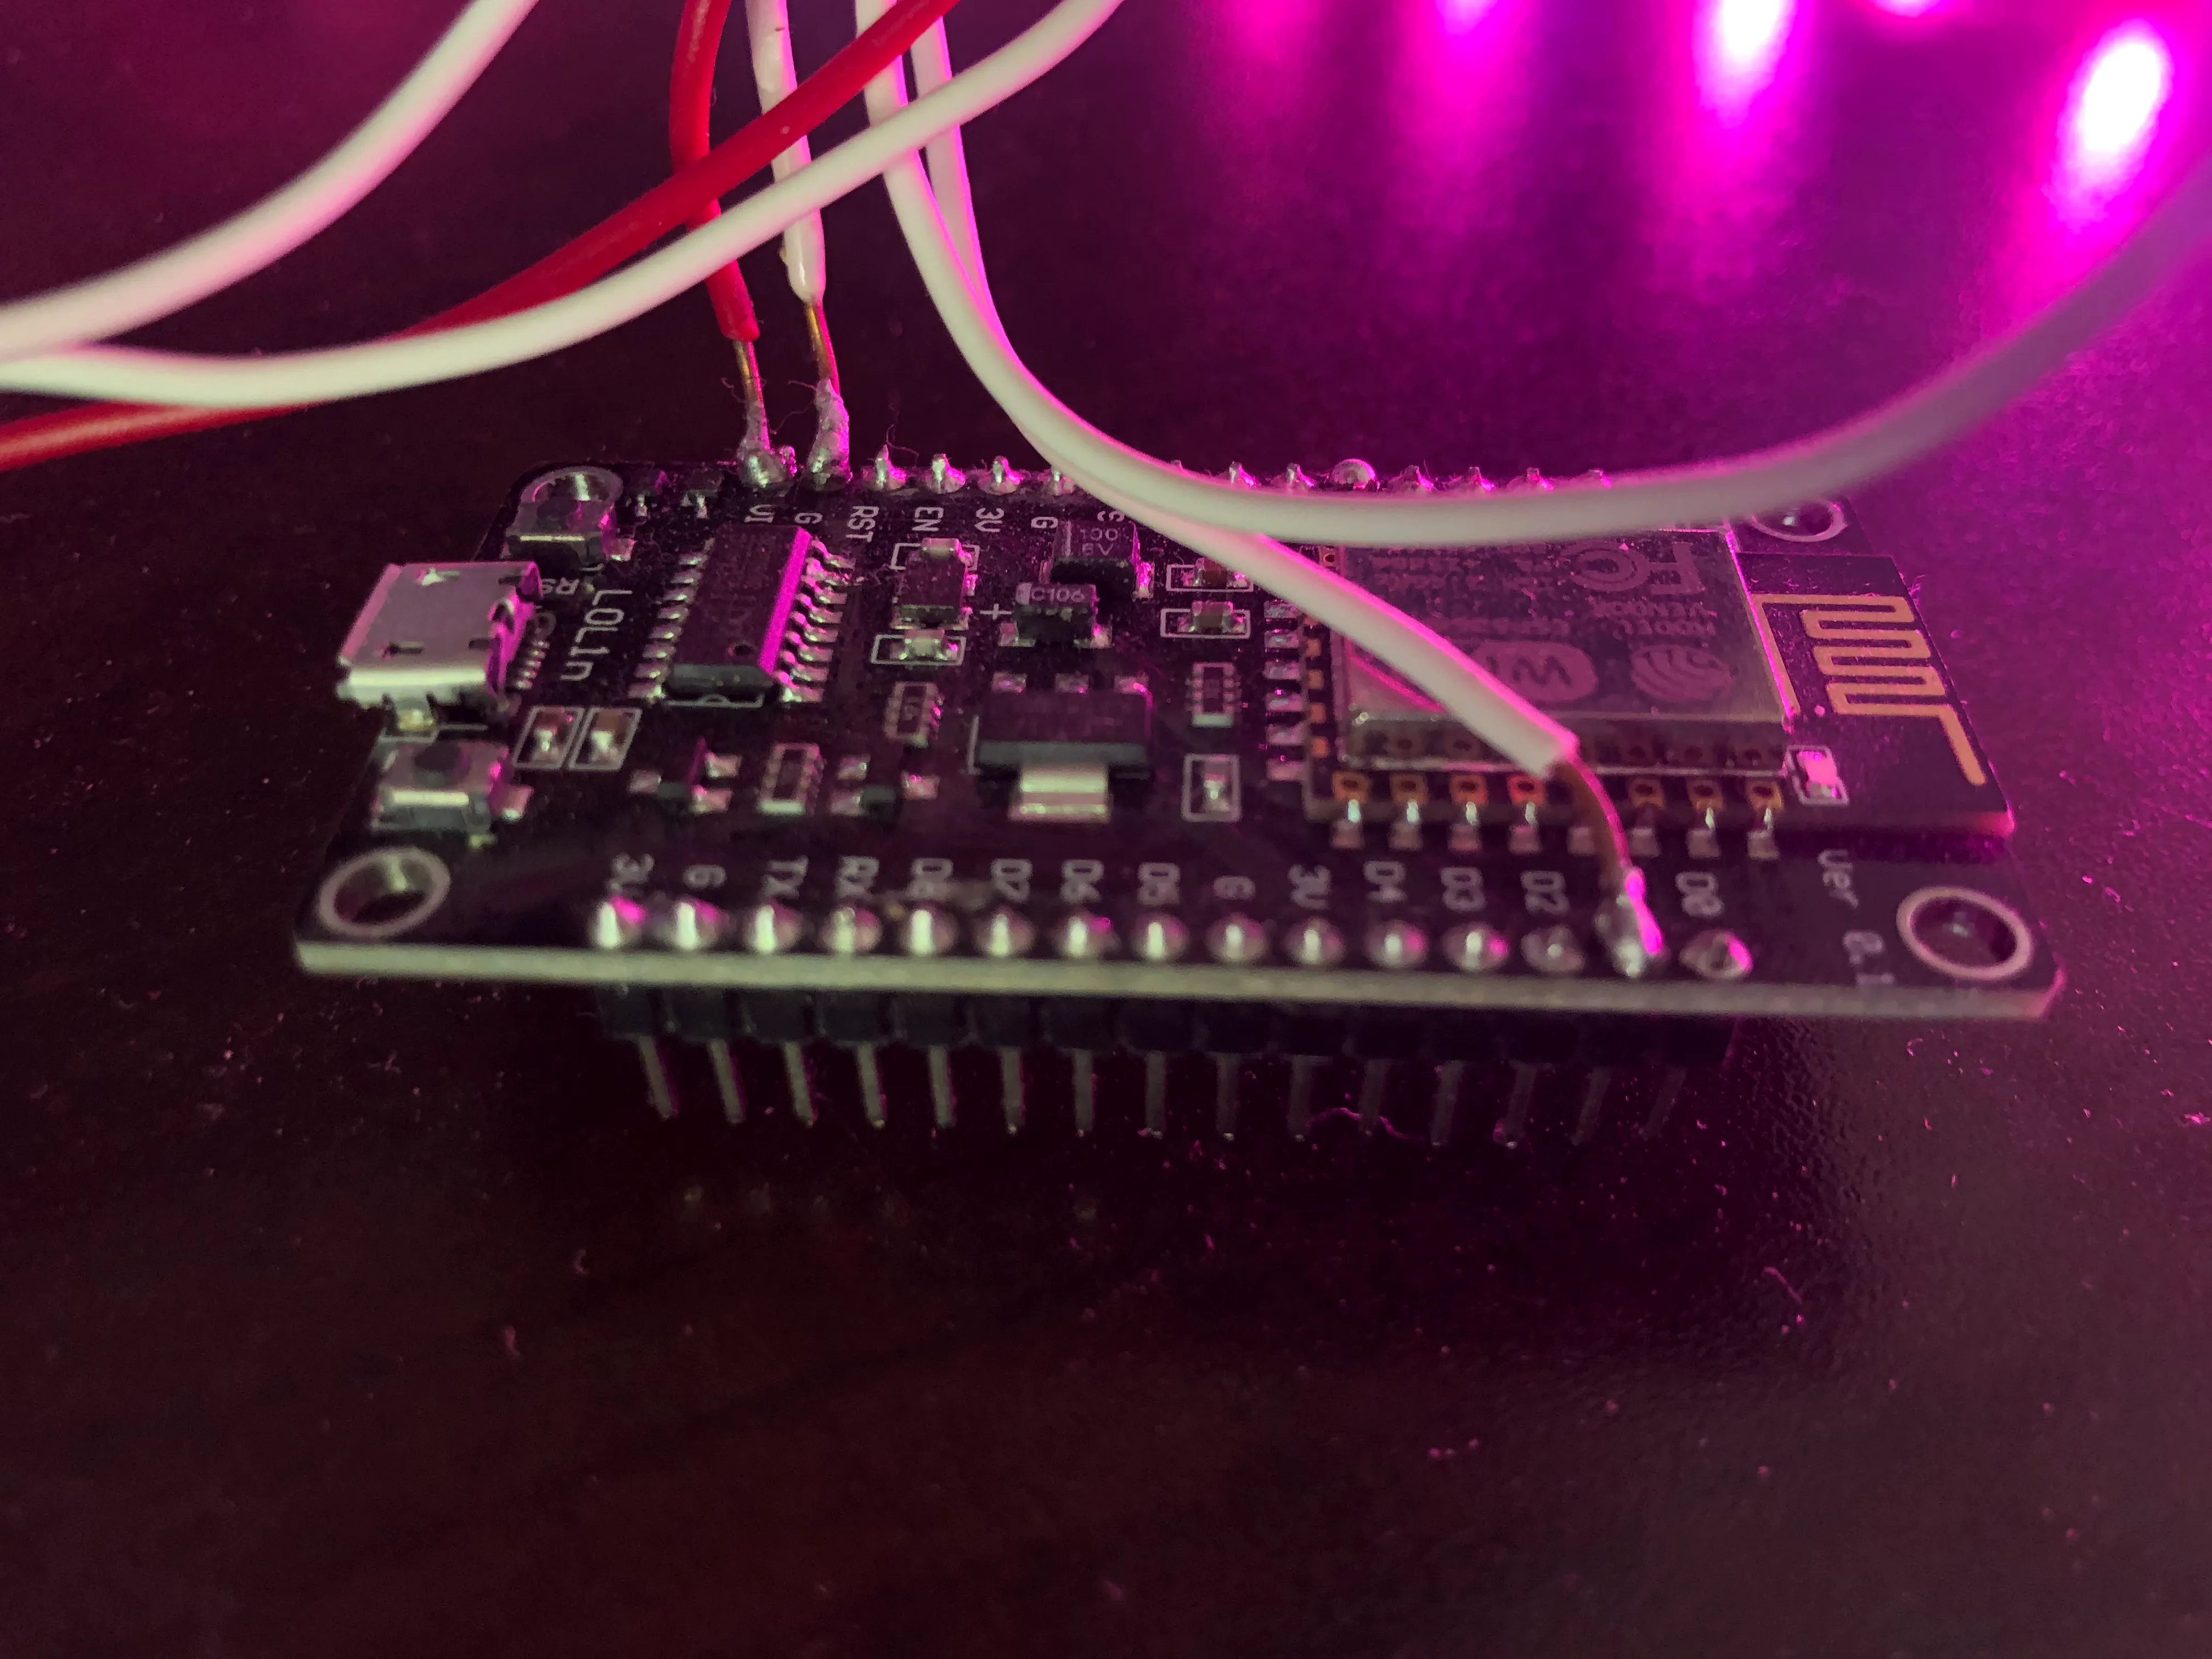
I am using the NodeMCU v3, along with a WS2812B LED strip that I had on hand. Also required is a high amp 5v power supply. These LEDs require 5v, but can also draw a large amount of current when they are all at peak brightness. It is not sufficient to power the strip via the usb port on the NodeMCU. Connect the positive terminal of the power supply to the positive pin of the LED strip and the VIN pin on the NodeMCU. Connect the negative terminal to the ground pin of the LED strip and any ground pin on the NodeMCU. Finally, connect the data pin of the LED to any valid GPIO pin on the NodeMCU. I choose to use pin D1 (GPIO5).
This should be all the hardware setup that is required.
Configuring the NodeMCU
The NodeMCU is just a standard ESP8266 microcontroller and is compatible with the arduino platform. One possible method is coding everything from scratch. However, I chose to leverage the ESPHome platform to make things much easier. This is the entire config.
esphome:
  name: ledstrip
  platform: ESP8266
  board: nodemcuv2

wifi:
  ssid: "ssid"
  password: "password"

  # Enable fallback hotspot (captive portal) in case wifi connection fails
  ap:
    ssid: "ESPHOME Fallback Hotspot"
    password: "fallback password"

captive_portal:

# Enable logging
logger:

# Enable ESPHome API
api:

ota:

light:
  - platform: fastled_clockless
    chipset: WS2812B
    pin: GPIO5
    num_leds: 75
    rgb_order: GRB
    name: "LED Strip"
There are a couple major pieces.
- esphome: This stanza provides the global config, including the name, platform, and specific board.
- wifi: Here is the wifi config. The ESPHome can also present a fallback network, incase it cannot connect to the defined network.
- captive_portal: This enables the fallback portal.
- logger: This enables the logger. It can be extremely helpful for debugging.
- api: This enables the api and is later used by home assistant.
- ota: This enables the possibility for Over the Air updates. A password can be set here if desired to prevent others from changing the firmware.
- light: This stanza configures the light and includes things that must be configured based on your LED setup. It includes the chipset, connected pin, and number of LEDs.
ESPHome also provides a number of extra configuration options and can do a lot more than just drive a single LED strip. Vist its website to learn more.
Flashing the device is extremely easy too, requiring only three commands. If this is the first time flashing the specific device with ESPHome, connect it with USB. Otherwise, the device can be updated over the air without any cables at all!
pip3 install esphome
esphome config.yaml compile
esphome config.yaml upload
Connecting it to Home Assistant
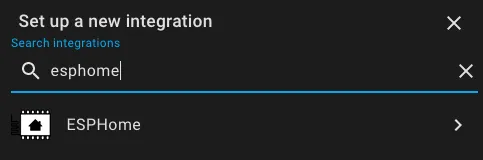
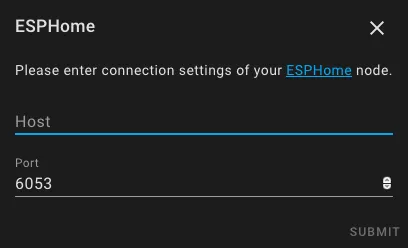
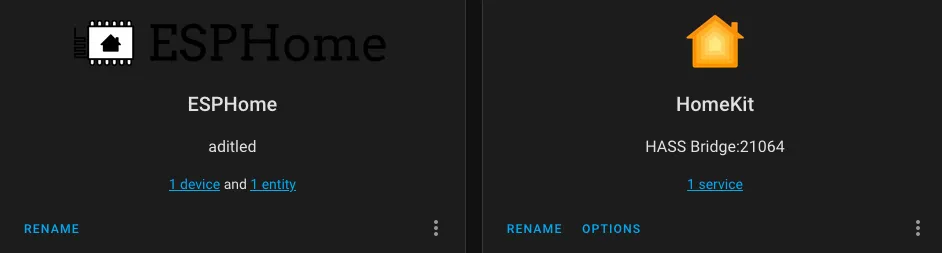
Home Assistant has a built in integration which will automatically discover the devices connected to the device once it connects to the device. In the integrations pane, search for ESPHome and enter the IP of your device. Home Assistant may also be able to automatically detect it on your network and display it in the notifications pane.
While you’re here, you can also add any other integrations you want. Since I will be using HomeKit, I went ahead and enabled the HomeKit integration with the default settings. It will show a notification with a QR code that you can scan using the Home app on an Apple device.
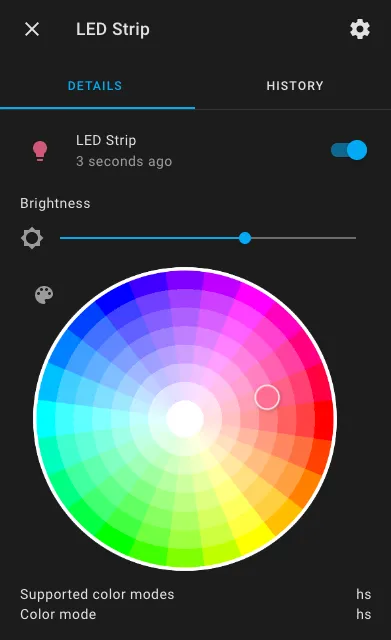
Controlling with Home Assistant
Using the corresponding pane on the dashboard, all functions of the light strip can now be controlled, including brightness and color.

Controlling with HomeKit
If you setup the HomeKit bridge in the previous section, the LED strip will automatically show up as a RGB light bulb in the Home app. From there, you can control, and it will update in realtime.